
Lots of good things happening in this blog post. We leave Norsand Boatyard and finally splash in the water! We stay at Port Nikau for a few days while we discover why our beers aren’t staying cold and we do a big provisioning run.
Splashing at Norsand
We splash back into the water after what seemed like a lifetime on the hard. In reality it was 3.5 months of living in dirt, dust, and chaos.
It was time to ensure our boat was water tight after installing (3) new thru-hulls below the water line. It is always frightening making new holes in the bottom of the boat – but Matt did a great job and we had no issues at all!
As you know, we have keel coolers for our fridge and freezer. Because of this set up we were not able to run our fridge or freezer while we were on the hard.
We bought a small 3′ refrigerator for $100NZD and kept it in the cockpit. It kept our drinks, beers, and butter cold.
Since we were not cooking on the boat we did not need much in the fridge.
Now that we are back in the water we have to test the refrigeration systems and see what needs some attention.
Kevin and Shane did an excellent job putting our home back in the water.

Port Nikau Marina
We did not go far once we splashed. We headed a few miles down the river to Port Nikau Marina.
Normally, we would not go straight from the yard to a marina, but we had some work on our refrigeration.
This two-year old marina is new to us. It is fairly small with two piers holding about 48 yachts. They also have a superyacht and commercial dock on either side of the private yacht piers.
The marina is run by Blaire who is absolutely wonderful! He met us on the dock to catch our lines and gave us the details of this pretty marina.

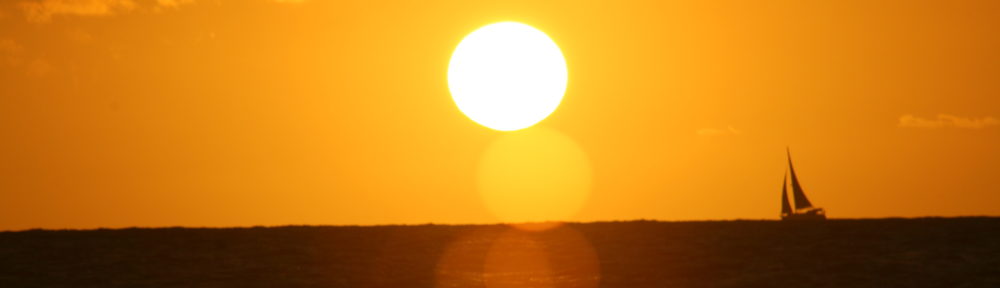
One morning we had an absolutely beautiful sunrise.

Matt had discovered that our main fridge was not keeping his beers cold. So, we planned to stay at Port Nikau Marina for a few days to figure out why.
We hired Big Fridge to do a quick maintenance and add freon to the fridge.
Keeping the Beers Cold
Oh no, back to tearing up the boat? Seriously. Luckily it was only a one day mess,
Big Fridge came and did a basic check of our refrigeration systems. We quickly determined that one of our connectors had a leak. Big Fridge changed four gaskets and stopped the leak.
Matt used a special wand to test for other leaks and it was going bonkers.
Matt tore up the bead and followed the lines to our keel cooler. The wand went crazy again.
I was horrified as this meant the keel cooler had to be replaced. The only way to replace the keel cooler is to haul out again! Oh no.
We decided to let it all sit for a few hours and went back with the wand. This time the wand was quiet as can be. We topped up the freon and watched the temperature drop! It is working!

We let the fridge cool down to our standard – 4 to 6 over the next 36 hours.
When we realized it was working normal we did a provision run.
Final Touches Before We Go
We did a quick trip to Auckland (6 hours return) to visit Costco. Loaded up on essentials. Another trip to two grocery stores for fresh produce and few more stops.
I sold our cockpit fridge to one of the workers at Norsand.
Next, I sold our beloved Audi A6 Quatro.
We have really enjoyed this zippy car! But it was time for someone else to enjoy her. I sold her for what we put into her. We bought it for $5,500 NZD and had a major service done which cost $600NZD. So, she sold for $6,100 NZD ($3600 USD). Yep, can you believe that?

Now we are off to explore New Zealand’s coast!
Our blog posts run 4-6 weeks behind actual live events.
We were in Port Nikau toward the end of February 2026.


