

We are back on the hard in Norsand Boatyard. What, you are probably asking, “why?” Well, we had a lot of little things we needed to do – each individually would not warrant a haul out, but together they did.
Boatyard Projects on the List
- Reburnish the Coppercoat (due to our barnacle incident)
- Fix small gelcoat damage (another boat ran into our starboard bow)
- Water Tanks: Scrape, clean, and repaint interior
- Repair Teak on both Sugar Scoops
- Wax the hulls and stern
Haul out
Hauling your home out of its natural environment and onto a trailer is always nerve racking. However, Kevin and Shayne at Norsand Boatyard are experts and they truly take every precaution to ensure our home is safe.

Coppercoat
We applied fresh Coppercoat in late December 2023 and had a massive issue 6 weeks later after being in a barnacle infested river. Coppercoat UK and the local NZ Coppercoat distributor agreed to reburnish the bottom of our boat. This particular task requires us to be out of the water so the boatyard can sand the entire bottom with 320 grit sand paper.
I will say that we rock! Why do you ask? Well, we spent days in the freezing cold water scraping and cleaning our bottom and it looks so much better than other boats with barnacles on their Coppercoat. I took a photo of a monohull that had similar barnacle problems to us (lower right photo). As you can see they were not as successful at removing the “feet” of the barnacles (little white spots) as we were. And another boat with Coppercoat who stayed in the barnacle infested water for over 6 months had a reef with baby eels falling off of it when she hauled out (lower left photo).

Sugar Shack bottom at haul out (top) and another boat after haul out (bottom), both with Coppercoat. Yep, we did good.

Coppercoat Repair
Once we were out of the water, we noticed an area that has 4 spots that are down to the barrier coat – that is not good. So we have to address this issue.

Conor fills the spots with filler and Coppercoat. It needs a sanding, then it is ready to be burnished with the rest of the bottom.

Burnsing the Coppercoat
Right before we splash, the yard comes back to burnish the Coppercoat with 320 grit sandpaper. Not sure what I expected, but honestly, I was surprised that the bottom turned back to copper color after the boys (Ian and Shamus) burnished it. It was soooo smooth.

It even had a shiny penny look when the sun hit it.

Hit by another Boat
Another boat hits us while we were docked at Town Basin Marina. It was rather an unfortunate occurrence but the damage was minimal. This other boat was trying to squeeze in front of us and claimed he had bow thrusters. He had bow thrusters, but they did not work. The tide was pretty strong and carried his boat side ways causing the stern of his boat, with his dinghy and dinghy outboard to scratch the inside starboard bow.

Aaron from Norsand Boat yard came out to give us an estimate and the other boat owner, begrudgingly paid us the $1500NZ that it cost to repair our boat.
While we were at it we had the boatyard finish a job they forgot to complete last time. They missed cleaning up the repair around the port cleat (the cleat goes where the 3 holes are) the repair was the cracks around the cleat.

Water Tanks
Our two water tanks hold about 400L of water each and are built into the boat. When the boat was built, the manufacturer used some sort of weird potable paint that has not held up well. For several years it has been peeling away and clogging up our filters. Matt has drained the tanks, scraped the excess paint off, and vacuumed up the mess several times. But, it was beyond time for us to completely clean out the tanks and repaint them with special non-toxic potable paint.
The white or light specs are actually pieces of chipped paint. Now don’t completely freak out because we do have several filters for each water tank (which holds 400L). So the water goes through each filter before coming to the taps.

This is such a huge project that I decided to write a separate blog about it so I can include more of the details (in case any of our other fellow cruisers need to do this too). See upcoming blog post “Disgusting Water Tank.”
Repairing the Teak on our Sugar Scoops
The teak on both the port and starboard sugar scoops has had a long, challenging life span in direct sun light, constantly covered in salt water and enduring heavy usage. We try to be diligent with its care but it is completely exposed to salt water, sun and constant use. We’ve replaced the teak about 8-9 years ago, but it time to do a temporary repair until we can replace them again (it is a long and expensive process so we want to squeeze as much life out of these sugar scoops as we can).
As you can see, the black caulking has come up and is completely missing in some places. It is time to repair it all.
I watched several YouTube videos and pulled Matt in to help. This is turning out to be a much larger job than we anticipated. So, the details of the teak repair will be coming out in an upcoming blog called “Caulking the Sugar Scoops Teak” stay tuned.

Waxing the Boat
Ian, aka “Stretch” comes in to wax our boat and make her as shiny as possible (considering her gelcoat is thin and old). He always does such a great job.

While we were working on the sugar scoops we had to get on and off the boat with a very tall (15 steps) ladder which was such a pain in the arse! Luckily it was only for 2 of the 6 weeks we were here.

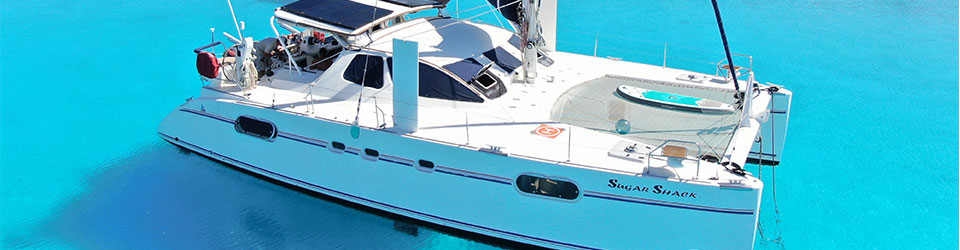
As you can see we made the most of this haul out in the boat yard. We were anxious to get back in the water as we prepare to head to a new country, Vanuatu.
Our blog posts run several weeks behind actual live events. This blog post occurred late April 2024. We enjoy some rough housing during the stock car races in Whangarei.